Notes on the Making Of Ping Pong Color
2022-05-19, Game DesignAbove is the trailer I've made for my first published game, Ping Pong Color. After spending a few years learning Unity and C# with online tutorials I've decided to embark in this small project that took about 5-6 weeks of development.
On Gameplay
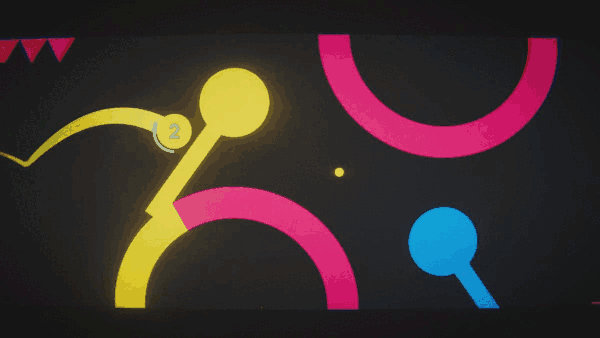
Ping Pong Color is a simple arcade game where your objective is to advance in an infinite level while you destroy everything in your path for a higher score. The colors chance in sync with the music.
If the ball and the obstacle are the same color when they collide, you destroy the obstacle, if not, it destroys you.
Input Systems
PC
On the PC version, you have a circle (called 'Paddle') that you move around with the mouse to hit the ball.
Mobile
The PC input system would've made the game extremely annoying to play on mobile devices for a multitude of reasons:
- Moving a paddle around a tiny screen would be tedious and imprecise.
- You would cover a big portion of the screen with your finger.
- Unless you have something like a matte screen protector, you finger wouldn't move properly throughout the screen.
For these main reasons, another input system was designed exclusively for mobile devices:
On mobile you just use your thumb anywhere on the screen to swipe on the direction you want to hit the ball. This also considers the speed at which you swipe to apply the proper physics to the ball.
On Level Generation
Ping Pong Color generates an infinite level when you start playing in a simple manner:
- We have pre-built blocks that contains multiple elements
- Each block calculates its bounding box
- We spawn a 'batch' of blocks
- We spawn one block (selecting a random one from an array)
- Next block is spawned at the end position of the previous block plus a defined offset
- When the ball gets close to the end of the last created batch, we just spawn another batch.
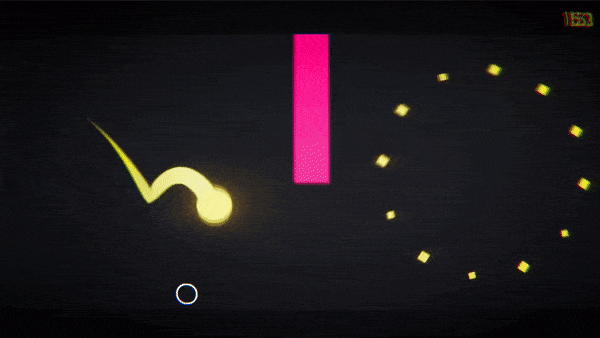
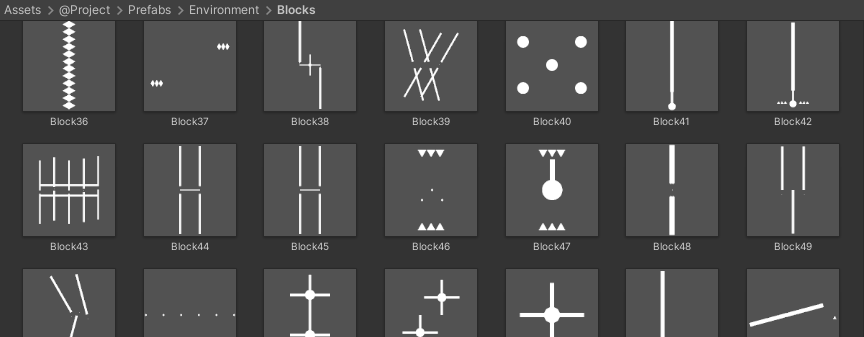
Blocks
There are 100 hand-made blocks, these blocks are by themselves built by individual objects such as 'Moving Spikes', 'Black Holes', 'Pick-ups', etc...
 Examples of some blocks used in the level generation
Bounding Box Generation
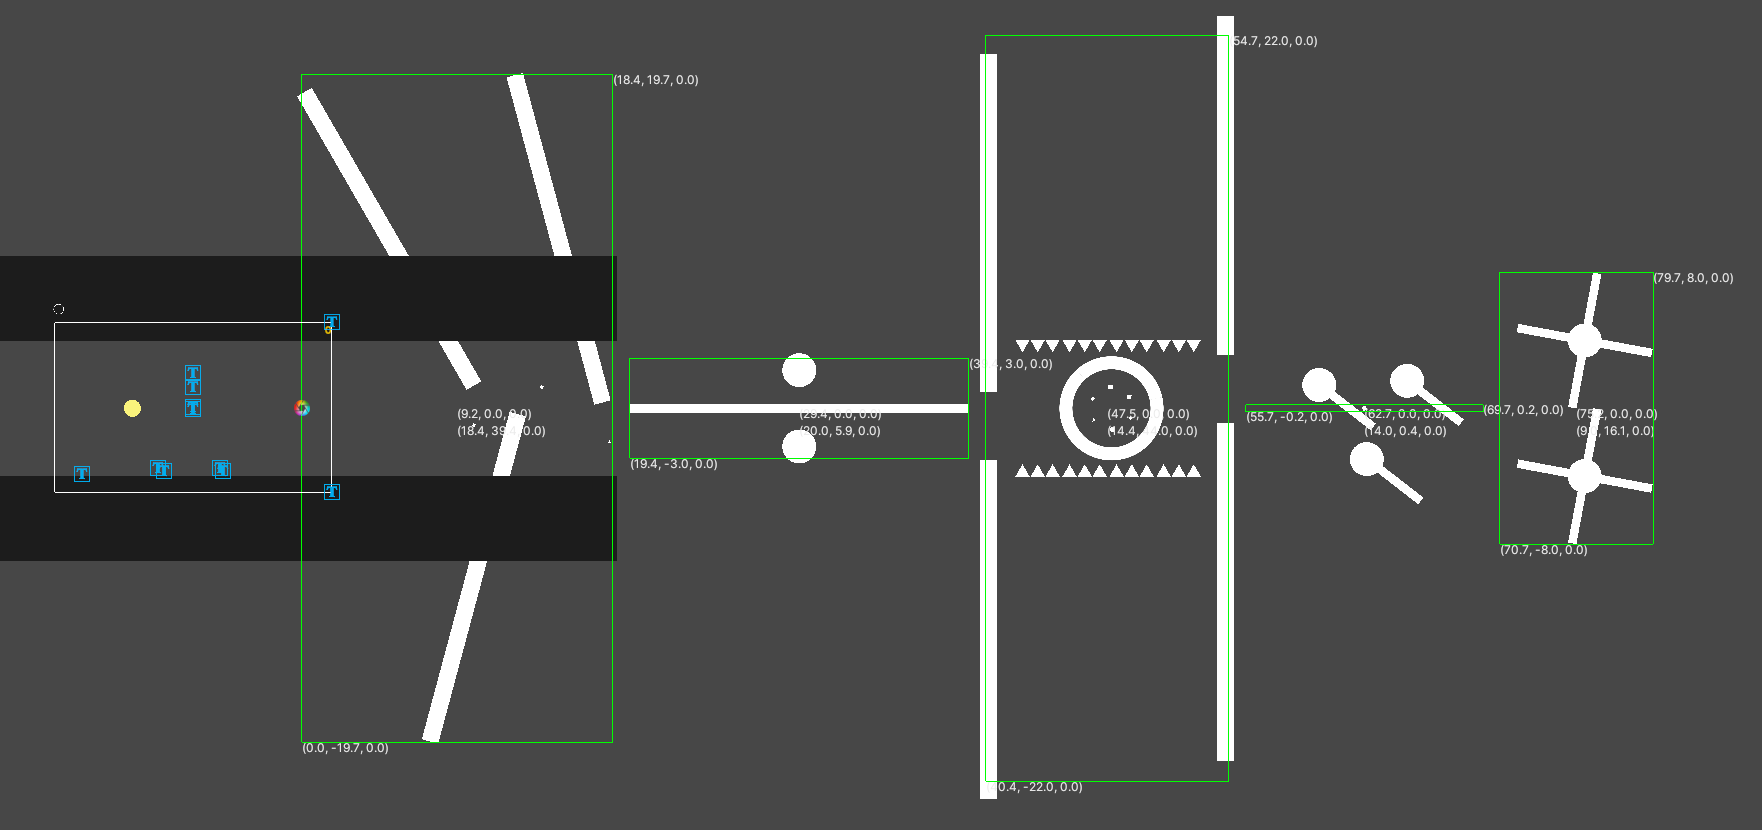 Above is an example of the bounding boxes generated by the script below
// added to every block
public Bounds bounds;

[HideInInspector] public Vector2 offsetToMin;
float boxSizeX;

List<Collider2D> allColliders = new List<Collider2D>();
List<Transform> allTransforms = new List<Transform>();


void Awake() => GetBoundingBox();

public void GetBoundingBox() {
	GetAllColliders(transform);
	GetAllTransforms(transform);
	CalculateBoundingBox();

	// An offset from the origin of the
	// block to the min point of the bounds
	// Used in the level generator to avoid
	// overlapping when placing a new block
	offsetToMin = transform.position - bounds.min;
}

// We add all the colliders of the block
// recursively to allColliders
void GetAllColliders(Transform trans) {
	foreach (Transform t in trans) {
		Collider2D collider = t.GetComponent<Collider2D>();
		if (collider != null)
			allColliders.Add(collider);

		GetAllColliders(t);
	}
}

// We add all the transforms of the block
// recursively to allTransforms
void GetAllTransforms(Transform trans) {
	foreach(Transform t in trans) {
		allTransforms.Add(t);
		GetAllTransforms(t);
	}
}

void CalculateBoundingBox() {
	// we make use of the provided Bounds() class by Unity
	bounds = new Bounds(transform.position, Vector3.zero);

	// We add all the transforms to the bounds
	foreach (Transform t in allTransforms)
		bounds.Encapsulate(t.position);

	// We add the min and max positions
	// of the colliders to the bounds
	foreach (Collider2D col in allColliders) {
		bounds.Encapsulate(col.bounds.extents + col.bounds.center);
		bounds.Encapsulate(-col.bounds.extents + col.bounds.center);
	}

	// we only care about the x-size of the
	// bounding box (as the level is horizontal)
	boxSizeX = bounds.size.x;
}
Sometimes, empty game objects are used to add a manual margin to specific blocks
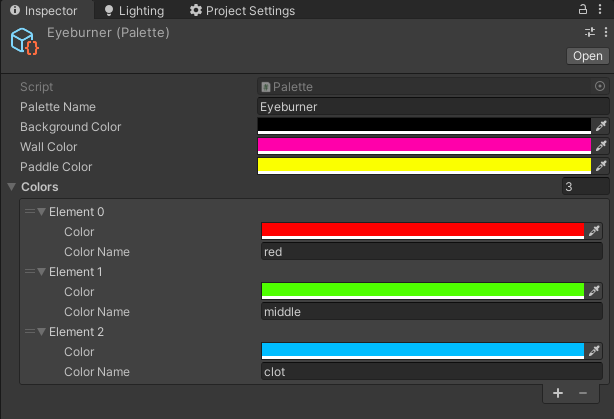
Palette System
In the game you can select different color palettes, either because you like some colors more than other, or also as an accessibility feature for color-blindness.
Palettes are implemented with ScriptableObject, here's an example of how they look like in the Inspector:
Color Blind Palette
I've done some research and found this excellent GDC talk and this amazing resource that lets you upload an image and see how someone with certain type of color blindness would see it.
Deuteranomaly is the most common type, so I mainly focused on the color-blind palette to work for that type of color-blindness.
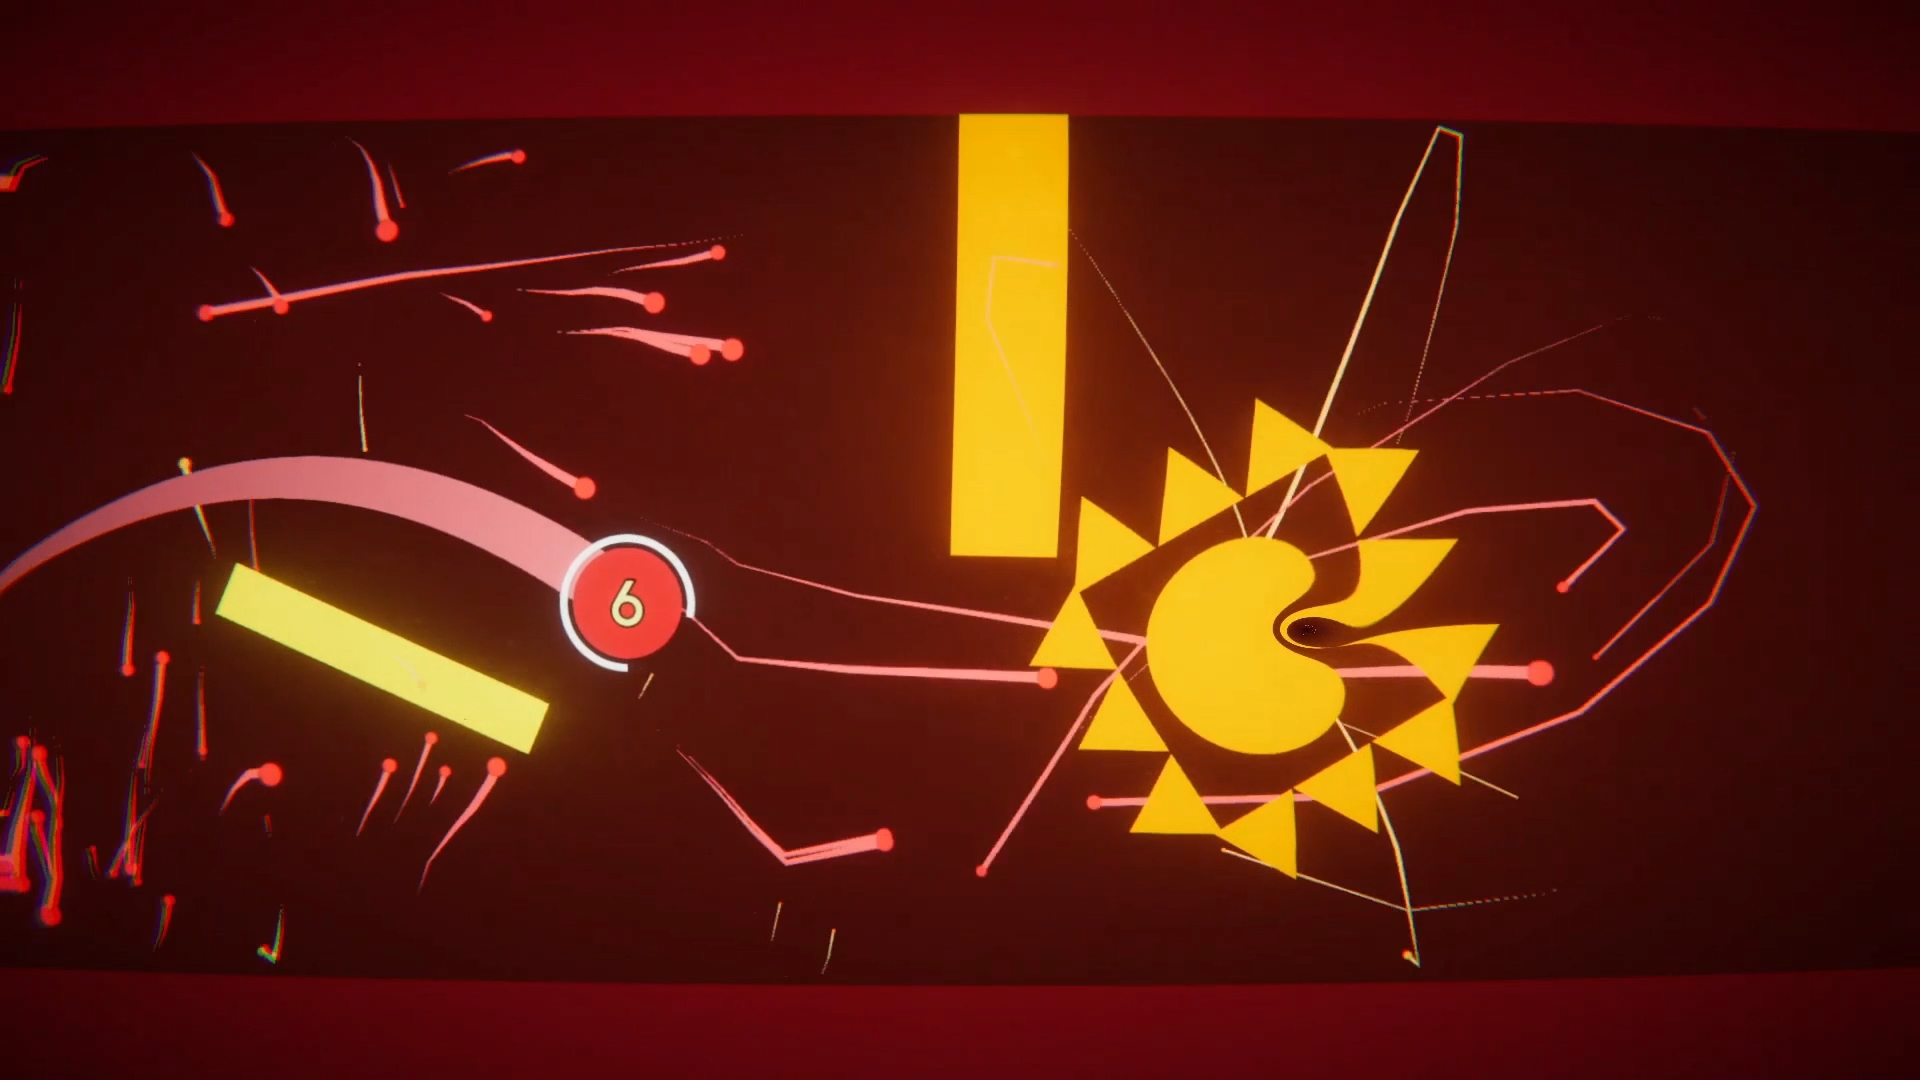
The Black Hole
One of the obstacles in the game is a Black Hole, this objects acts as an atractor for the ball and any particle effects surrounding.
Because the black hole shader acts as a post-processing effect, the UI gets distorted by it!
sampler2D _MainTex;
uniform float2 _Position; // in screen space
uniform float _Radius;

fixed4 frag (v2f i) : SV_Target{
	float ratio = _ScreenParams.x / _ScreenParams.y;
	fixed2 pos = _Position / _ScreenParams;
	float2 offset = pos - i.uv;

	float rad = length (offset);
	float intensity = sin (_Time.y * 1.5);
	float deformation = 1 / pow (rad, abs(intensity)) * _Radius * intensity;

	offset.x *= ratio;
	offset = i.uv + normalize (offset) * 0.001;
	offset = offset * (1 - deformation);

	return tex2D (_MainTex, offset);
}
On Sound
For this project I've learned a bit of Reaper and FMOD to be able to implement some 'dynamic' sounds and musicThe music in the game is not that good, but it is what it is for now. into the game, reacting to the gameplay.
Here's what the music from Ping Pong Color looks like in Reaper. It's divided into different sections that correspond to a Game State.
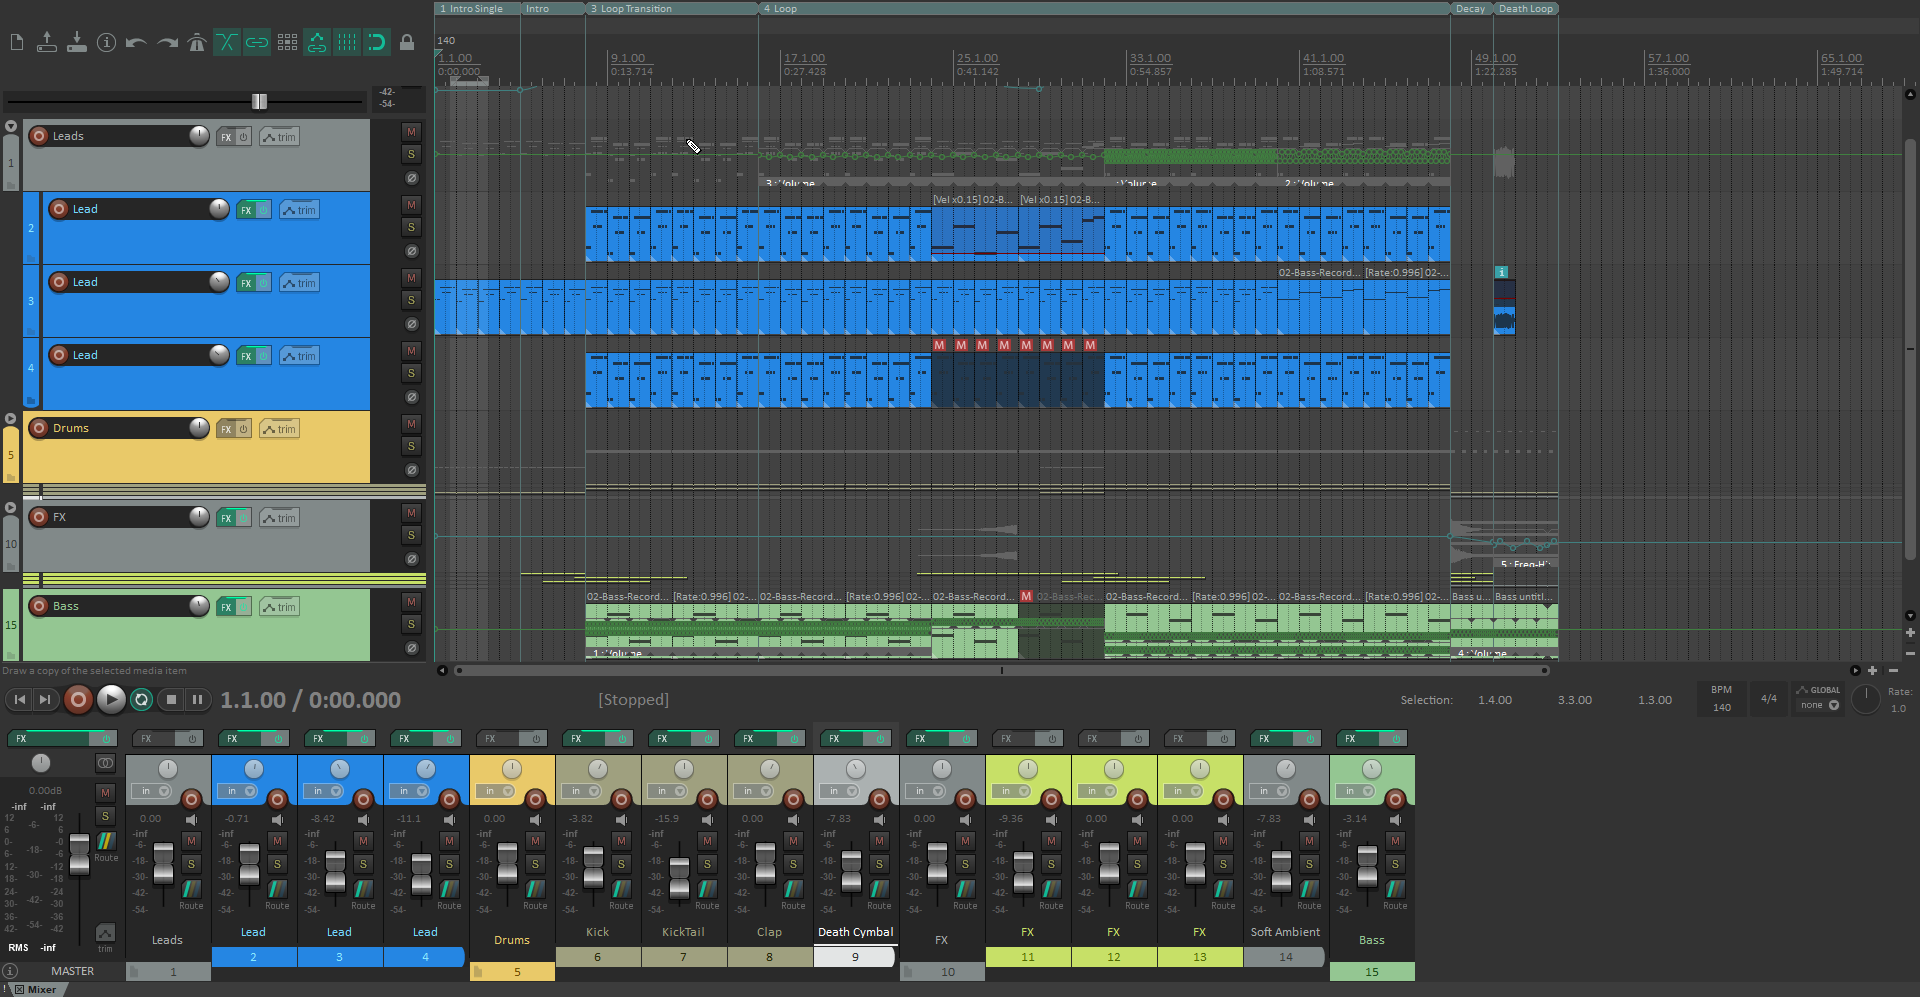
Inside the Unity project I have an Enum that keeps track of the current state of the game, this is linked to the GameState parameter in the FMOD project. When the state changes in-game, FMOD takes care of transitioning to the proper section of the song.
On Mobile Optimization
With this game containing a few shaders, lots of particles and physics, some optimizations needed to be done for the mobile version.
Fixed DPI
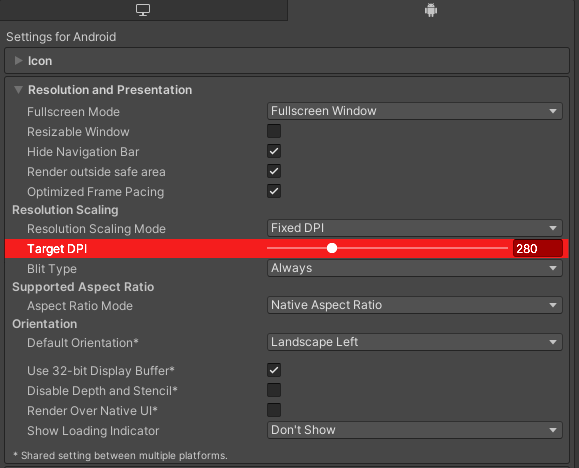
Under the Resolution and Presentation settings of the Project Settings you can find the option to force the rendering to a specific DPI, meaning that you will not render at full resolution unnecessarily. In this case I went with 280 Dots per Inch. This is what improved the performance on mobile the most.
Performance Mode
Another thing I've did was to add an extra option to the settings menu. This toggle is linked to the script below, which disables all post-processing effects except for the Lens Distortion.
public void SetPerformance(bool performance) {
	PostProcessProfile profile = postFxVolume.sharedProfile;
	foreach (PostProcessEffectSettings setting in profile.settings)
		if (!setting.GetType().Equals(typeof(LensDistortion)))
			setting.active = !performance;
}